
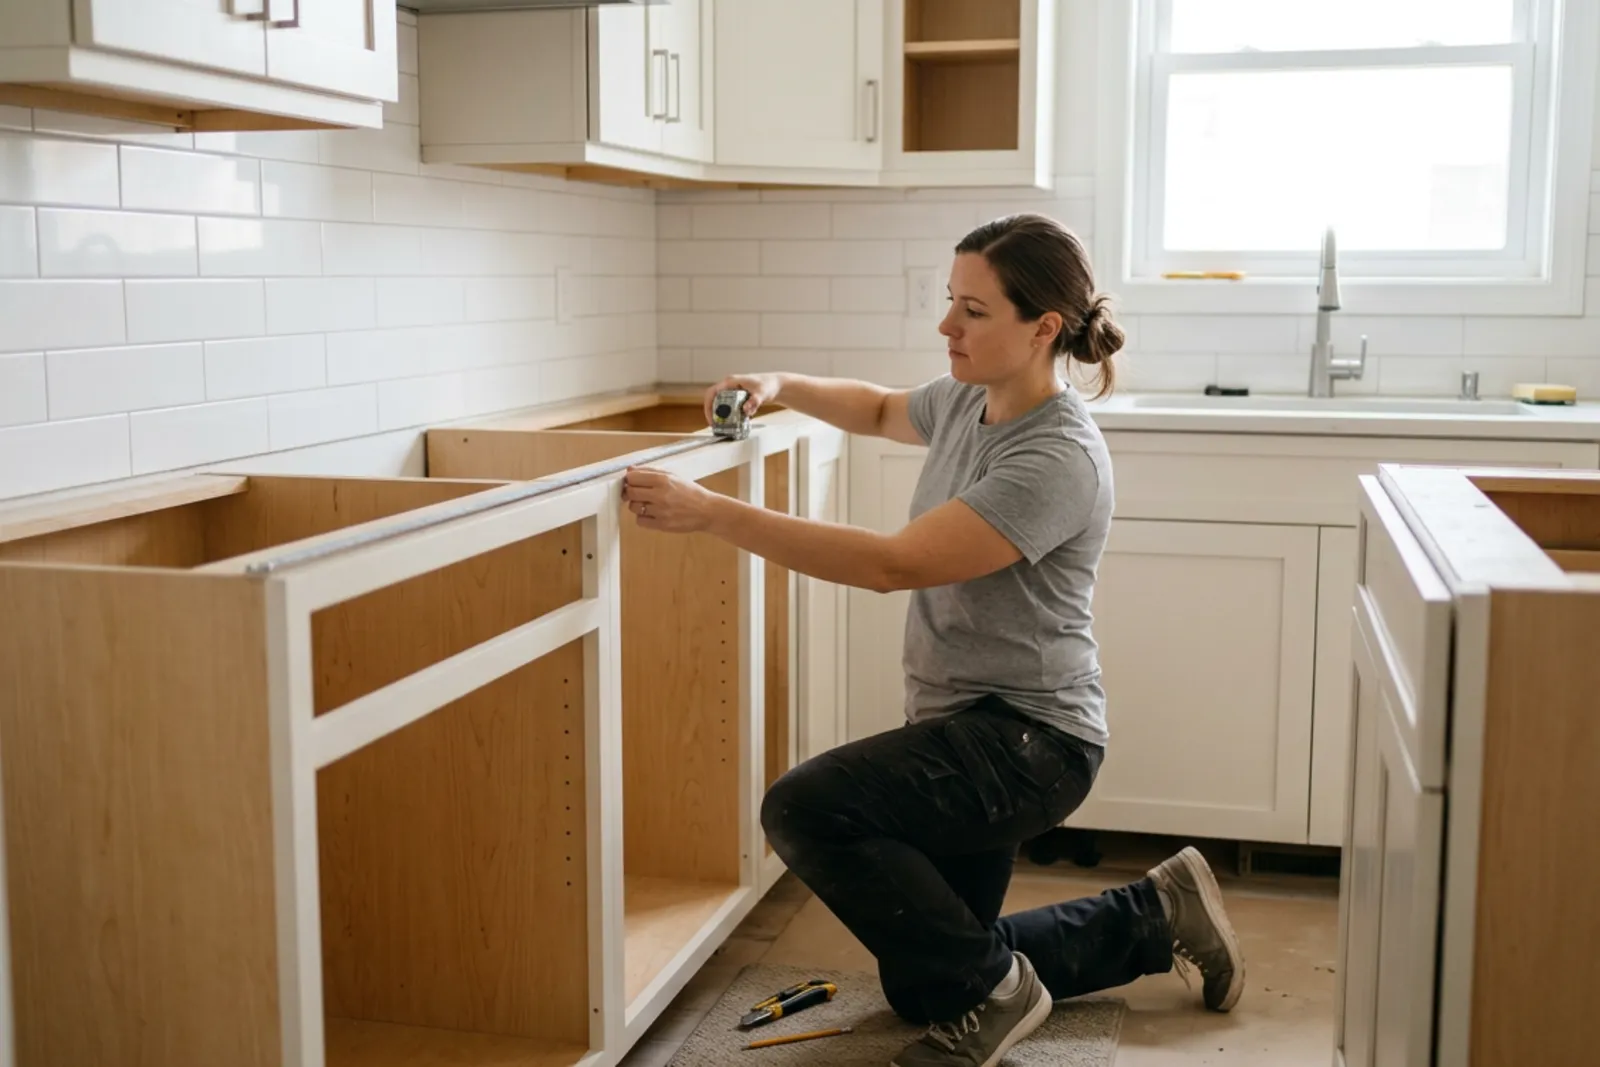
A countertop project goes more smoothly when the details are settled before fabrication begins. The sink needs to fit inside its cabinet. Appliance openings need to match the selected models. Cabinets need to be ready to support the finished surface. Small decisions, such as where to place a faucet or how far an island should overhang, can affect both fabrication and installation.
You do not need to understand every technical detail to prepare well. You do need to know what must be ready, which decisions require your approval, and who is responsible for each part of the work.
This guide explains what happens during countertop measurement, fabrication, and installation, along with practical steps to help avoid preventable delays.
Understand the Process Before Scheduling
Most countertop projects have three main stages: field measurement, fabrication, and installation. Each stage depends on information confirmed in the previous one.
During measurement, a technician records the dimensions and site conditions needed to produce the countertops. That includes more than the length and depth of the cabinets. Wall irregularities, appliance locations, sink placement, overhangs, and other details may influence the finished pieces.
The measurements then become a fabrication layout. The fabricator uses that information, together with your material and design selections, to shape the countertop sections and prepare the required openings.
Finally, installers bring the finished pieces into the home, position and secure them, and complete the work included in their scope. Plumbing connections, electrical work, appliance installation, and backsplash work may require separate arrangements.
A measurement appointment often takes about an hour. Installation may take approximately two to five hours. Larger kitchens, multiple rooms, difficult access, or complicated layouts can require more time. Treat these figures as planning estimates, not guaranteed appointment lengths.
Get the Cabinets Ready for Measurement
Countertop measurements depend on the structures underneath them. Base cabinets and other supporting components should be installed in their final positions before the measurement visit.
This is where cabinet design and countertop planning need to agree. An island with seating, for example, may need support beneath its overhang. A sink cabinet must accommodate the selected sink and leave suitable space for plumbing and mounting hardware.
Confirm stability, level, and support
Ask your cabinet maker or project coordinator to confirm that the cabinets are securely installed and ready for measurement. The countertop crew should not arrive to discover that a cabinet run is still being moved or that an island has not been anchored.
Raise support questions ahead of time, especially for extended overhangs, open spans, or unusual cabinet arrangements. Requirements depend on the countertop material, thickness, layout, and manufacturer’s guidance. Final support decisions should be confirmed through the site review and project specifications.
Avoid relying on a general rule found online. A support detail that works for one material or layout may not be appropriate for another.
Avoid changes after the measurement
Once the countertop has been measured, changes to cabinet positions can affect the fit of the fabricated pieces.
Even a seemingly modest adjustment matters. Moving an island, adding a finished panel, or changing an appliance opening may alter an edge location or clearance. Tell the project coordinator about any proposed changes before work continues. Depending on the change, another measurement may be necessary.
Prepare Fixtures and Appliance Information
A sink described as “standard size” is not enough information for fabrication. Products with similar advertised dimensions can have different cutout requirements, mounting details, and clearances.
Have the intended sink and faucet on-site for the measurement appointment whenever required by the provider. Keep model information, installation instructions, and any supplied templates available too.
Check the sink and faucet together
Sink placement affects more than the opening in the countertop. The team may need to account for the sink bowl, cabinet walls, faucet hardware, backsplash, and accessories.
For an undermount sink, the amount of sink rim visible beneath the countertop edge, often called the reveal, may also require approval.
Consider a faucet installed near a wall. Its handle may need clearance behind it to operate fully. A soap dispenser or filtered-water tap also needs an agreed location. Those choices are easier to resolve before holes are made.
If you are still deciding between fixtures, tell the coordinator. Do not assume two similar-looking products are interchangeable.
Provide exact appliance model numbers
For appliances that cannot be on-site, supply the exact model numbers and the manufacturer’s installation specifications.
Cooktops and ranges deserve particular attention because their opening and clearance requirements can differ. A freestanding range, slide-in range, and separate cooktop should not be treated as the same installation.
Dishwasher placement and attachment methods may also need coordination. Confirm who will handle any brackets or mounting components required for the selected countertop material.
Make the Measurement Appointment Productive
Clear existing countertop surfaces before the technician arrives, including small appliances, drying racks, and decorative items. The work area needs to be accessible for accurate measurement and inspection.
A homeowner or another authorized decision-maker should attend. That person should understand the agreed design and be able to approve details or identify questions that still need answers.
Useful topics to review include:
Finished edge profile and exposed edges.
Sink position, mounting style, and faucet-hole arrangement.
Countertop overhangs and seating areas.
Backsplash plans and transitions to nearby surfaces.
Potential seam locations and pattern preferences.
Some decisions involve trade-offs. A preferred seam location may be limited by slab dimensions, access through the home, or the shape of the countertop. Ask for an explanation if a proposed detail differs from what you expected.
Before the appointment ends, confirm what remains undecided, who will resolve it, and whether fabrication can proceed.
Know What Happens During Fabrication
The field measurements are used to prepare a countertop layout or shop drawing. Depending on the project, this may show countertop dimensions, cutouts, seams, edge treatments, and other fabrication details.
Review any approval documents carefully. Check that the selected sink, appliance openings, edge profile, and other agreed details are correctly identified. If something is unclear, ask before approving it.
Discuss pattern placement before cutting
With veined or strongly patterned materials, slab layout can noticeably affect the finished appearance. Pattern direction, seam placement, and the relationship between adjacent pieces all deserve attention.
Continuous-looking patterns may be possible in some areas, but perfect continuity is not always achievable. Slab size, material variation, countertop shape, and the number of pieces can limit the options.
If a particular section of the slab matters to you, discuss it before fabrication. Once the pieces are cut, relocating a prominent vein or changing the layout may no longer be practical.
Allow for a project-specific schedule
A straightforward project may have roughly two weeks between confirmed measurements and installation, but actual timing varies. Material availability, shipping distance, fabrication complexity, approvals, and scheduling all affect the interval.
Ask when the schedule becomes firm and what could change it. Avoid booking dependent work around an assumed completion date. A plumber needs a confirmed installation sequence, not a hopeful estimate.
Coordinate Removal and Other Trades
One of the most common sources of confusion is assuming that “countertop installation” includes every related task.
Before installation day, establish who will remove the existing countertop, disconnect the sink, handle the old material, and reconnect the plumbing. Confirm whether appliances need to be moved and who is qualified to do that work.
If a range or cooktop uses gas, arrange any necessary disconnection and reconnection through an appropriately qualified professional. Electrical modifications also belong with the appropriate trade.
Ask the coordinator to confirm the sequence in writing. For example, plumbing disconnection may need to happen before countertop removal, while reconnection follows installation and any required waiting period.
Do not remove existing countertops earlier than directed. Some projects are measured with the old surfaces in place; others require them removed first. The provider should explain what your project needs.
Prepare Your Home for Installation Day
Countertop sections are heavy and can be awkward to maneuver. A clear route into the home helps the crew work safely and reduces unnecessary handling.
Before the installers arrive:
Clear the agreed delivery route and remove nearby furniture, rugs, and fragile objects.
Empty the sink cabinet and any other cabinets the crew asks you to clear.
Have the sink, faucet, and required appliances or specifications available.
Arrange access, parking, and any building or elevator permissions.
Keep children and pets away from the work area.
Discuss tight corners, stairs, narrow doors, and upper-floor access beforehand. The crew may need to plan how large pieces will enter the space.
Someone authorized to make decisions should be present and reachable throughout the installation. Installers may need an answer about positioning or an unexpected site condition. An unavailable decision-maker can bring work to a stop.
Expect some noise and disruption. Although much of the fabrication normally happens off-site, fitting and installation can still involve tools, adhesives, and limited use of the room. Ask about ventilation and work-area precautions before the appointment.
Inspect the Countertops Before the Crew Leaves
Take time to inspect the installed surfaces while the installers are still available. This is your opportunity to ask questions and identify concerns promptly.
Look over each section in good lighting. Review the edges, seams, sink opening, faucet holes, and transitions between pieces. Check that the installed layout matches the approved plan.
Seams may remain visible, especially in patterned materials. Visibility alone does not establish a defect, but an unexpected appearance is worth discussing. Ask the installer to explain what you are seeing and whether it meets the agreed specifications.
Photograph the overall room and individual countertop sections for your records. If a concern remains unresolved, take a close-up photograph and record its location. Follow up with the designated project contact rather than relying only on a verbal conversation.
Before the crew leaves, ask when the surface can be used, whether adhesives or sealants need time to cure, and when plumbing reconnection can proceed. Do not assume that a countertop that looks finished is ready for every activity immediately.
Care for the Surface After Installation
Use the care instructions for the specific material and product installed in your home. Quartz, natural stone, solid surface, and other countertop materials have different maintenance requirements.
For many quartz products, routine cleaning involves warm water and a soft cloth, with mild soap when needed. Follow the manufacturer’s guidance for suitable cleaners, stubborn residue, and products to avoid.
Do not assume quartz is heatproof because it is durable. Use suitable trivets or heat protection as directed by the manufacturer. Cutting boards are also a sensible everyday precaution.
Natural stone may have different sealing requirements. Ask whether sealing is needed, whether it has already been completed, and how to assess future maintenance needs. Keep the product name, care guide, and warranty documents with your project records.
A Prepared Space Makes Better Decisions Possible
The most useful preparation happens before installation day: cabinets are fixed in place, fixtures are selected, appliance specifications are available, and responsibilities are clear.
Those steps give the measurement technician reliable information and give the fabrication team an approved plan. They also leave fewer decisions to be made while a heavy countertop is waiting at the door.
Before each appointment, confirm what must be ready and what happens next. A short conversation at the right time can prevent an expensive change later.